This article describes the use of a rotary evaporator in organic solvent experiments. To ensure experimental safety, data accuracy, and equipment longevity, the following detailed operating procedures are provided for reference only.
I. Pre-experiment Preparation and Inspection
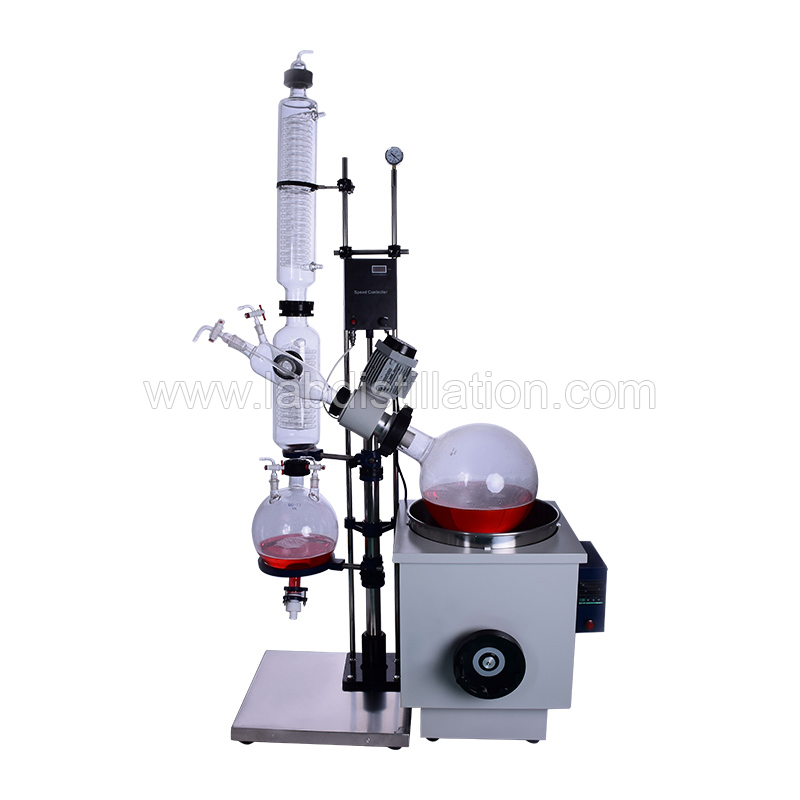
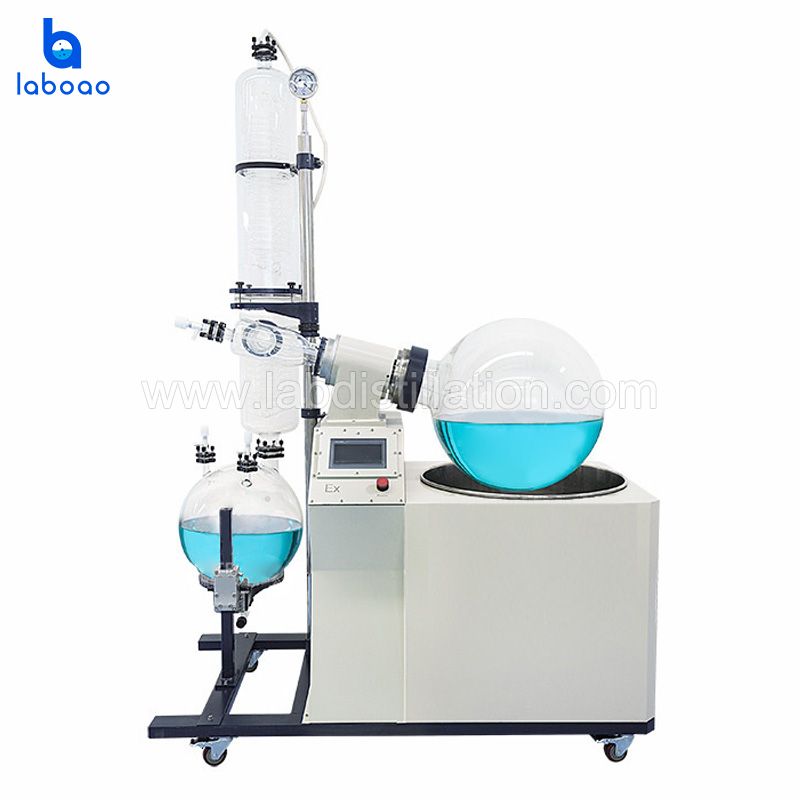
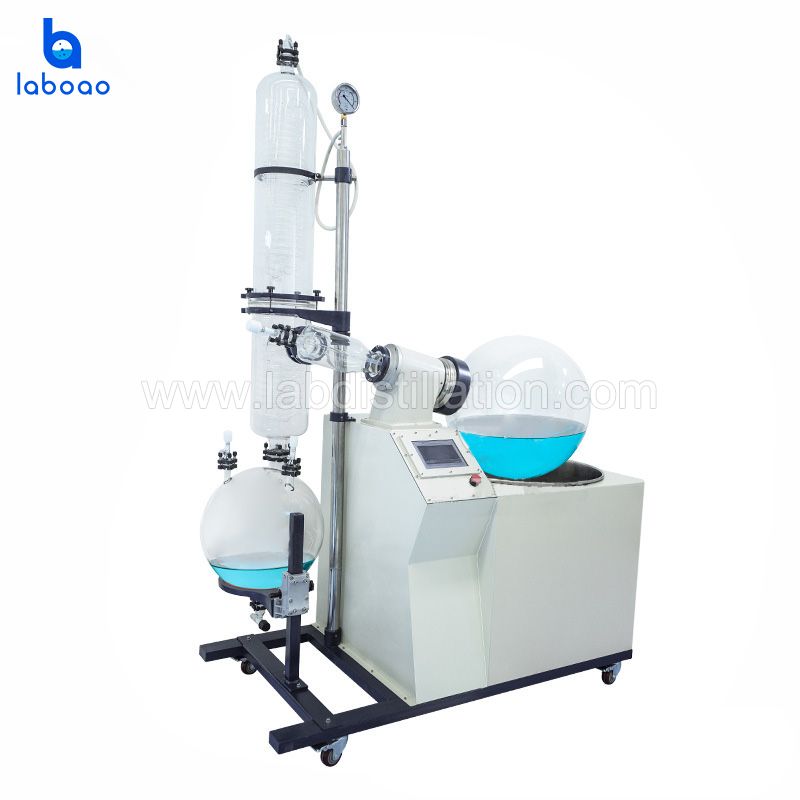
1. Equipment Connection and Layout
• Place the equipment on a stable, well-ventilated laboratory bench or fume hood. Operation in a fume hood is recommended, especially when handling toxic or volatile organic solvents (a solvent recovery device can be added).
• Ensure that the rotary evaporator, cooling liquid circulation pump, and vacuum pump are securely positioned, and that the connecting tubes (vacuum tube, cooling liquid tube) are not excessively bent or stretched.
• Leave sufficient operating space for observation and emergency handling.
2. Cooling Circulation Device Inspection
• Confirm that the cooling medium level in the cooling tank is normal. Ethylene glycol aqueous solution is usually used; water should not be used as a low-temperature coolant at sub-zero temperatures.
• Set the cooling temperature. For most organic solvents (such as dichloromethane, ethyl acetate, ethanol, etc.), the temperature is usually set between -10℃ and -20℃. Too low a temperature may cause the coolant to become viscous, affecting circulation; too high a temperature will reduce condensation efficiency.
• Turn on the cooling circulation device and pre-cool it in advance. Ensure that the condenser is at a low temperature before starting rotation and heating.
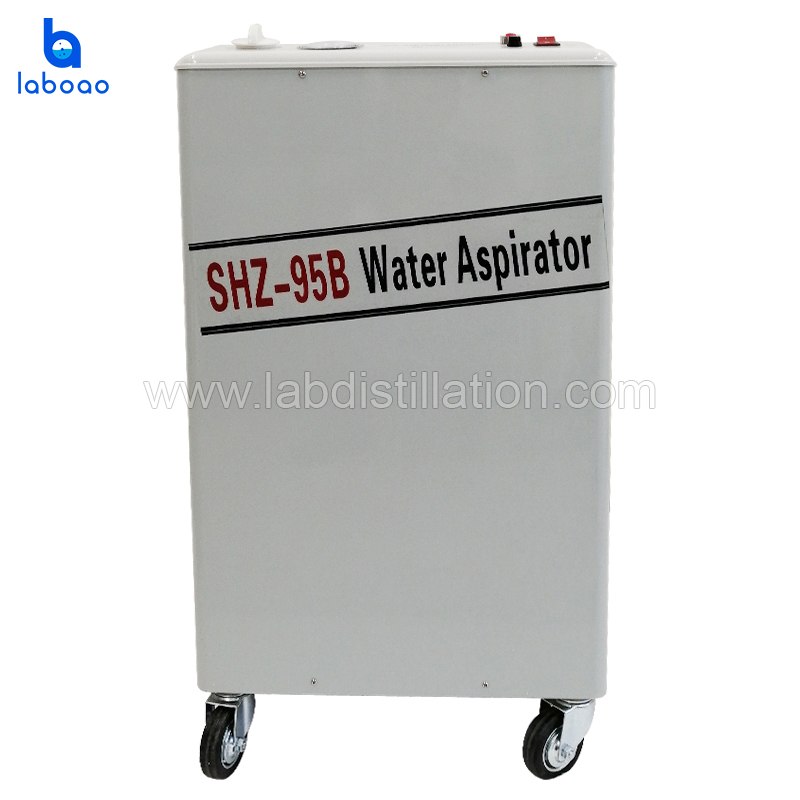
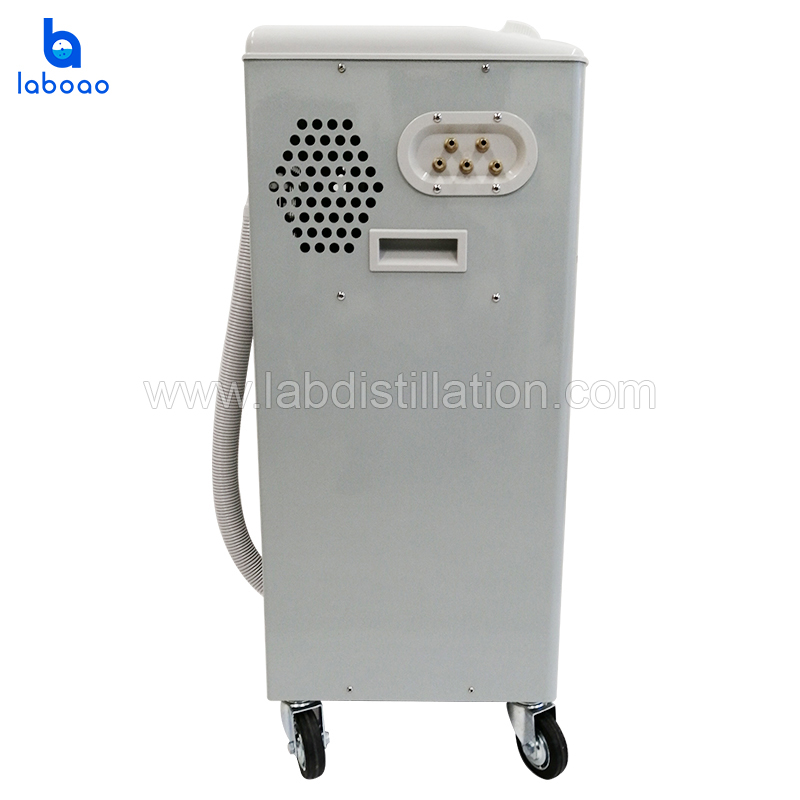
3. Vacuum Pump Inspection
• Circulating water pump: Check the water quality in the water tank. If it is contaminated (turbid, with odor), replace it immediately with pure water or deionized water. Tap water is not recommended to prevent scale and corrosion.
• Corrosion-resistant diaphragm vacuum pump: Check the oil level and color (if it is an oil-type pump), and confirm that the pre-stage waste liquid collection bottle is empty.
• Connect the vacuum lines and ensure that all interfaces are well sealed.
4. Rotary Evaporator Inspection
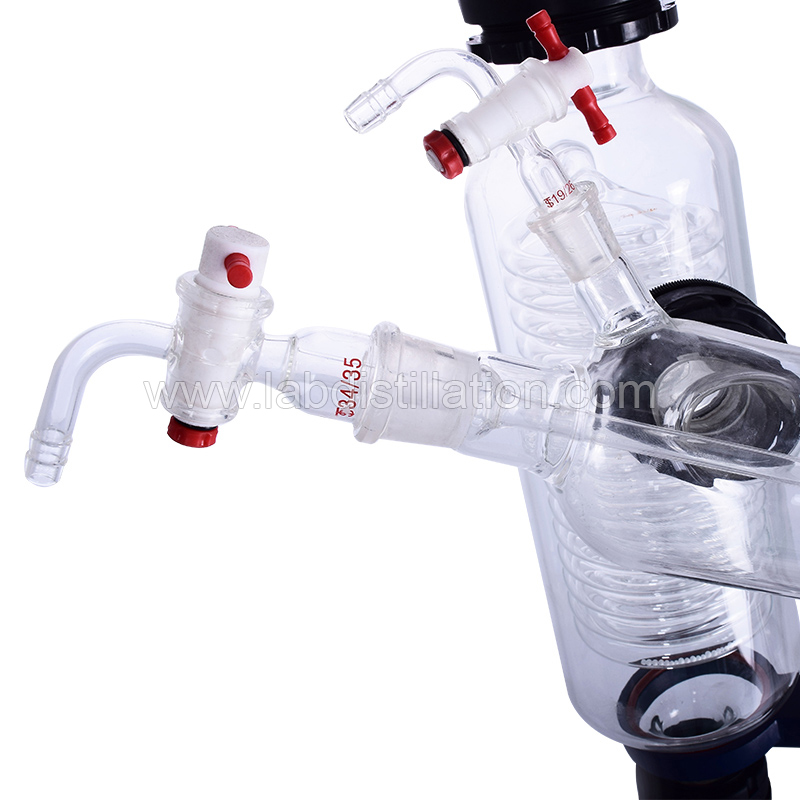
• Sealing inspection: In the no-load state, close all valves and start the vacuum pump to evacuate the system. Observe whether the vacuum gauge or the vacuum display value on the main unit can stabilize at a low value (e.g., <10 mbar). If the vacuum degree continues to rise, it indicates a system leak. Check all sealing rings (especially the interface between the rotary evaporation flask and the condenser, and the main shaft sealing ring). • Seal Ring Lubrication: Before installing the glassware, gently apply a small amount of vacuum grease to the ground glass joint seal rings to ensure a proper seal and facilitate disassembly. Avoid contaminating the sample.
• Cleanliness: Ensure that the rotary flask, receiving flask, and condenser are clean and dry, free from any residue from previous experiments.
II. Experimental Procedure
1. Loading and Installation:
• Pour the sample solution to be concentrated into the rotary flask. The volume should not exceed 1/2 of the flask's capacity to prevent bumping or liquid being drawn into the condenser.
• Securely install the rotary flask onto the main shaft and fix it with a clamp.
• Install the receiving flask (evaporation flask).
• (Crucial) Ensure all valves are closed.
2. Starting Cooling and Rotation:
• Step 1: Reconfirm that the cooling circulation device is running and the temperature has reached the set value.
• Step 2: Start the rotation function. Begin at a low speed (e.g., 30-50 rpm), and gradually adjust to a suitable speed (usually 80-150 rpm). Smooth rotation helps to form a uniform liquid film, improving evaporation efficiency and data reproducibility.
3. Applying Vacuum:
• Step 3: Slowly and gradually open the vacuum valve connecting the rotary evaporator to the vacuum pump.
• (Crucial) Observe the liquid in the rotary flask to prevent violent boiling or bumping due to sudden pressure reduction. If bumping occurs, temporarily close the vacuum valve and reopen it slowly after the liquid stabilizes.
• Adjust the system vacuum to the required value. Different solvents have corresponding optimal evaporation vacuum levels; a controlled system can be used to set a reasonable vacuum range to prevent bumping.
4. Starting Heating:
• Step 4: After the vacuum and rotation are stable, finally start the heating bath.
• Heat the water bath (or oil bath) to the set temperature. The water bath temperature should be set 20-30°C higher than the solvent's boiling point at the system pressure, but not too high to avoid product decomposition or violent boiling.
5. Experimental Process Monitoring:
• Closely observe the entire evaporation process: check if the rotation is stable, if the solvent condensation in the condenser is smooth (continuous droplets should be formed), if the liquid in the receiving flask is increasing normally, and if the vacuum degree is stable.
• Adjust the rotation speed, vacuum degree, and heating temperature appropriately to obtain optimal evaporation efficiency. (It is recommended to use a controlled rotary evaporator for easier control of the vacuum degree.)
6. Experiment Completion and Shutdown:
• The shutdown procedure must follow the reverse order of the startup procedure:
• Step 1: Lower the heating bath temperature to room temperature or remove the rotating flask.
• Step 2: Slowly open the vent valve/release valve to allow the system to gradually return to atmospheric pressure. This step is extremely important! Rapid venting can lead to:
• The recovered solvent in the receiving flask being blown back into the rotary evaporation system by the airflow.
• Possible damage to the precision pressure sensor.
• Sample splashing.
• Step 3: Turn off the rotation function.
• Step 4: Turn off the vacuum pump.
• Step 5: After the system has completely returned to atmospheric pressure, carefully remove the rotating flask and the receiving flask.
• Step 6: Turn off the cooling circulation device.
III. Equipment Maintenance
1. Regular maintenance of sealing rings: Regularly check and clean the main shaft sealing ring and all ground joint sealing rings, and replace them immediately if aging or cracking is found. Use an appropriate amount of vacuum grease.
2. Keep the system clean:
• If solvent vapor accidentally enters the condenser, it must be cleaned promptly.
• If water is used in the water bath, it should be drained and dried after the experiment to prevent scale and corrosion. It is recommended to use silicone oil as a long-term heating medium.
3. Correct use of the vacuum pump:
• Circulating water pump: Regularly replace with clean water, and drain the water if not used for a long time. Prevent corrosion and microbial growth.
• Diaphragm vacuum pump: Regularly check the pump oil (if any) and replace it on time. For corrosive solvents, a cold trap and buffer bottle must be installed before the pump to prevent solvent vapor from entering the pump body. After the experiment, pump out any remaining liquid inside.
4. Gentle operation: Operate valves and knobs gently to avoid damaging precision components through rough handling.
5. Frost protection: For cooling circulation systems, antifreeze coolant must be used when the ambient temperature may drop below 0℃ to prevent the internal piping of the equipment from freezing and cracking.
6. After the experiment, the rotating flask and vent valve, etc., should be removed to prevent them from sticking together due to prolonged disuse.